You have designed a stunning flyer. The background is a beautiful, edge-to-edge photograph. You print it on your office printer, and out it comes with a thin, ugly white border around the edge.
You think: "Professional printers can fix this. They can print right to the edge."
At Trojan Press, we certainly can—but only if you understand the concept of Bleed. Without it, you risk getting your files sent back, or worse, receiving a job with hairline white slivers on the edges.
The "Cookie Cutter" Reality
Printing doesn't happen on sheets the exact size of your flyer. We print on large, oversized sheets of paper, and then a massive guillotine blade cuts them down to the final size.
However, paper is organic. It stretches and shifts slightly. The blade is precise, but mechanical shifting can occur by a fraction of a millimeter. If your background image stops exactly at the edge of the cut line, and the blade hits just 0.5mm to the left, you end up with a hairline of unprinted white paper on your final product.
The Solution: Bleed
To solve this, we require Bleed. This means you must extend your background artwork past the edge of the final document size.
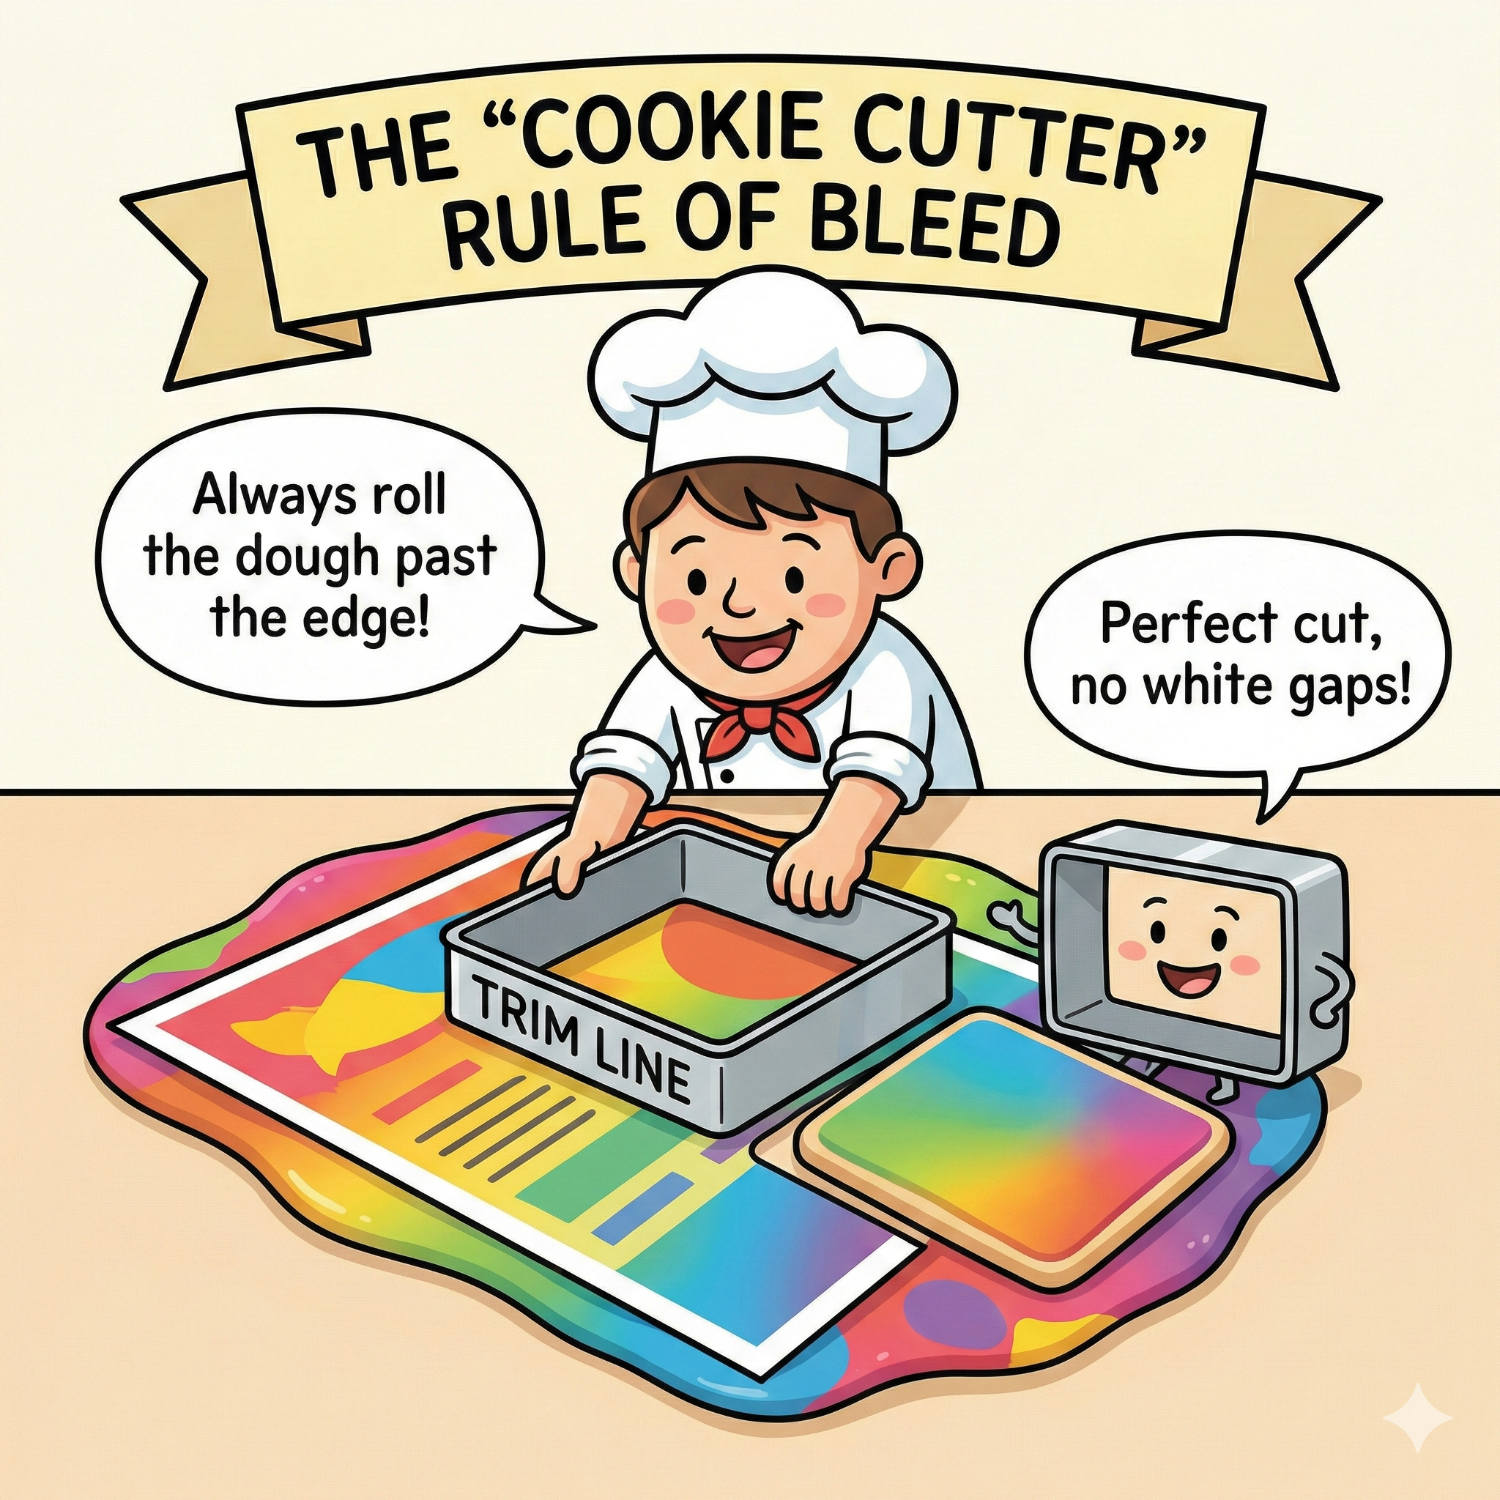
Think of it like using a cookie cutter. You don't roll the dough out to the exact size of the star shape; you roll it out larger, and then cut the shape from the middle. The extra dough is the bleed.
- Standard Bleed: usually 3mm (or 0.125 inches) on all sides.
The Danger Zone: Safety Margins
The blade works both ways. Just as it might shift outward (creating white lines), it might shift inward (cutting off text).
This is why we also talk about the Safe Zone (or Safety Margin). We recommend keeping all critical text and logos at least 3mm to 5mm inside the trim line. If you put your phone number right on the edge of the paper, you are playing a dangerous game with the guillotine blade.
Decoding the "Crop Marks"
When you export a PDF with bleed, you might see little crosshairs in the corners. These are Crop Marks (or Trim Marks).
- They tell the printer exactly where the blade should fall.
- They sit outside the artwork so they don't appear on the final print.
The Trojan Press Checklist
Before you hit "Send" on your next order, do a quick visual check:
- Background: Does your background image extend 3mm past the edge of the page?
- Content: Is your text sitting comfortably inside the page, away from the edge?
- Export: Did you tick the box for "Use Document Bleed Settings" when saving your PDF?
Follow these steps, and your print will look seamless, professional, and sharp—right to the very edge.
Related Articles
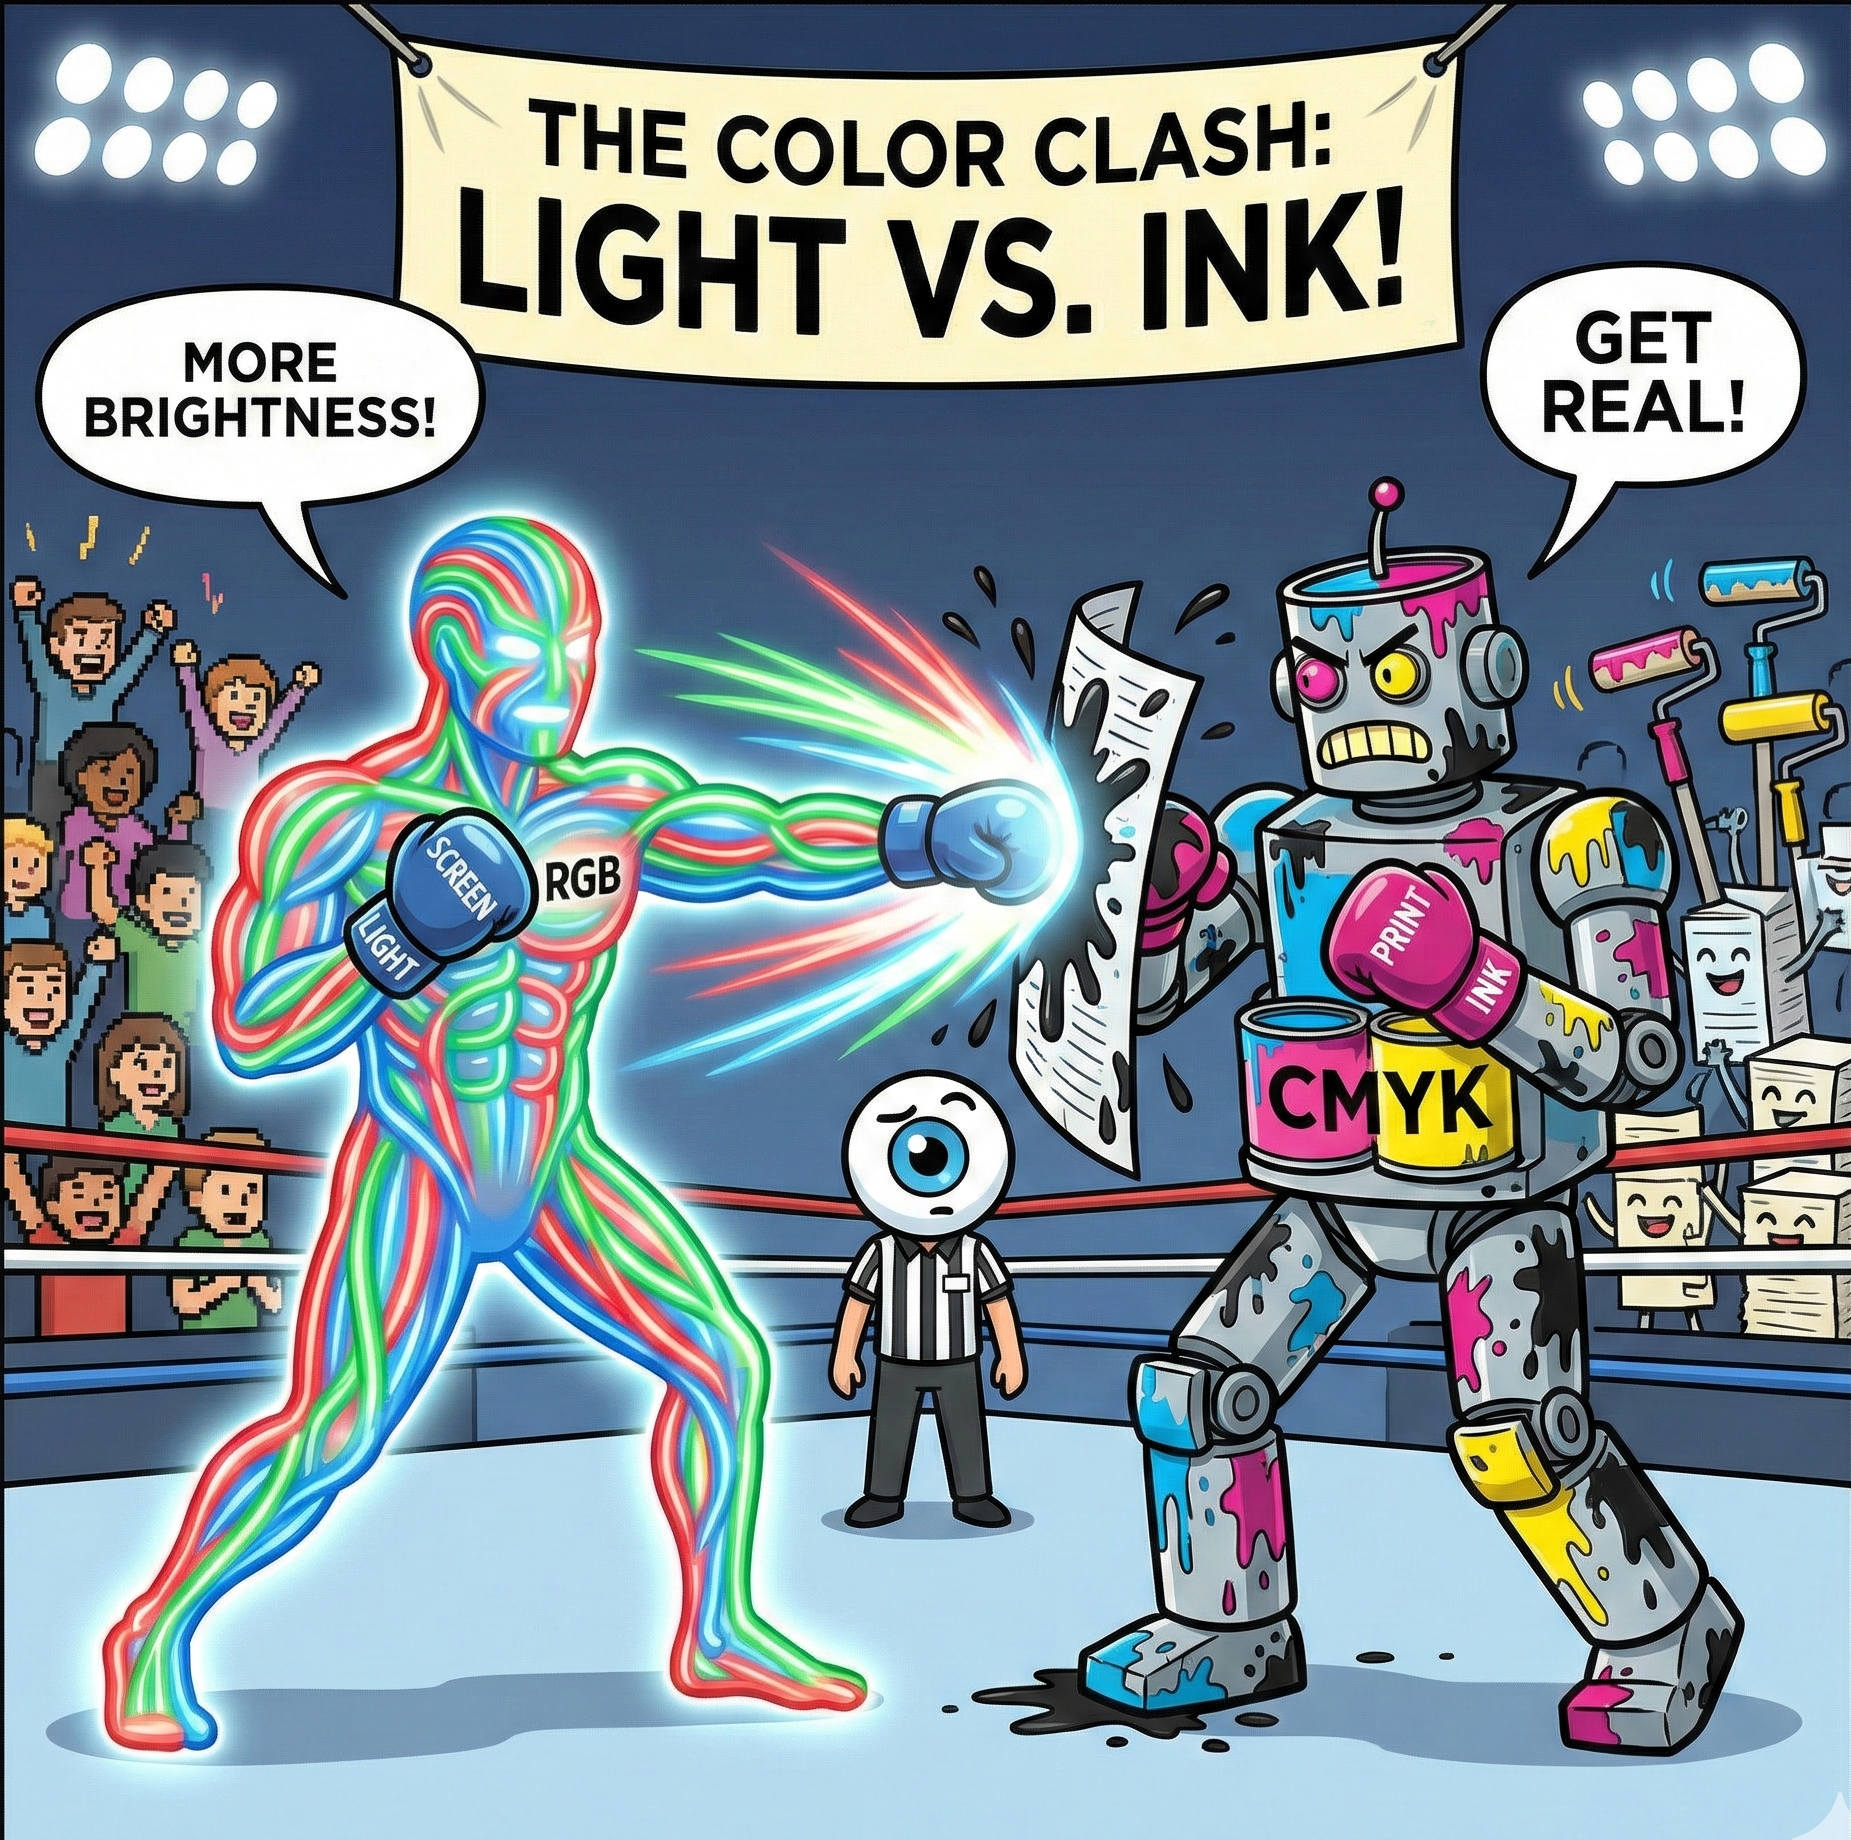
Why Your Screen Lies to You: The Battle Between RGB and CMYK
It is the most common heart-stopping moment in design. You spend hours perfecting a brochure on your laptop. The blues are electric, the oranges are vibrant, and the photos look crisp. You send the file to print, and when you get the proof back... it looks different.
Read article →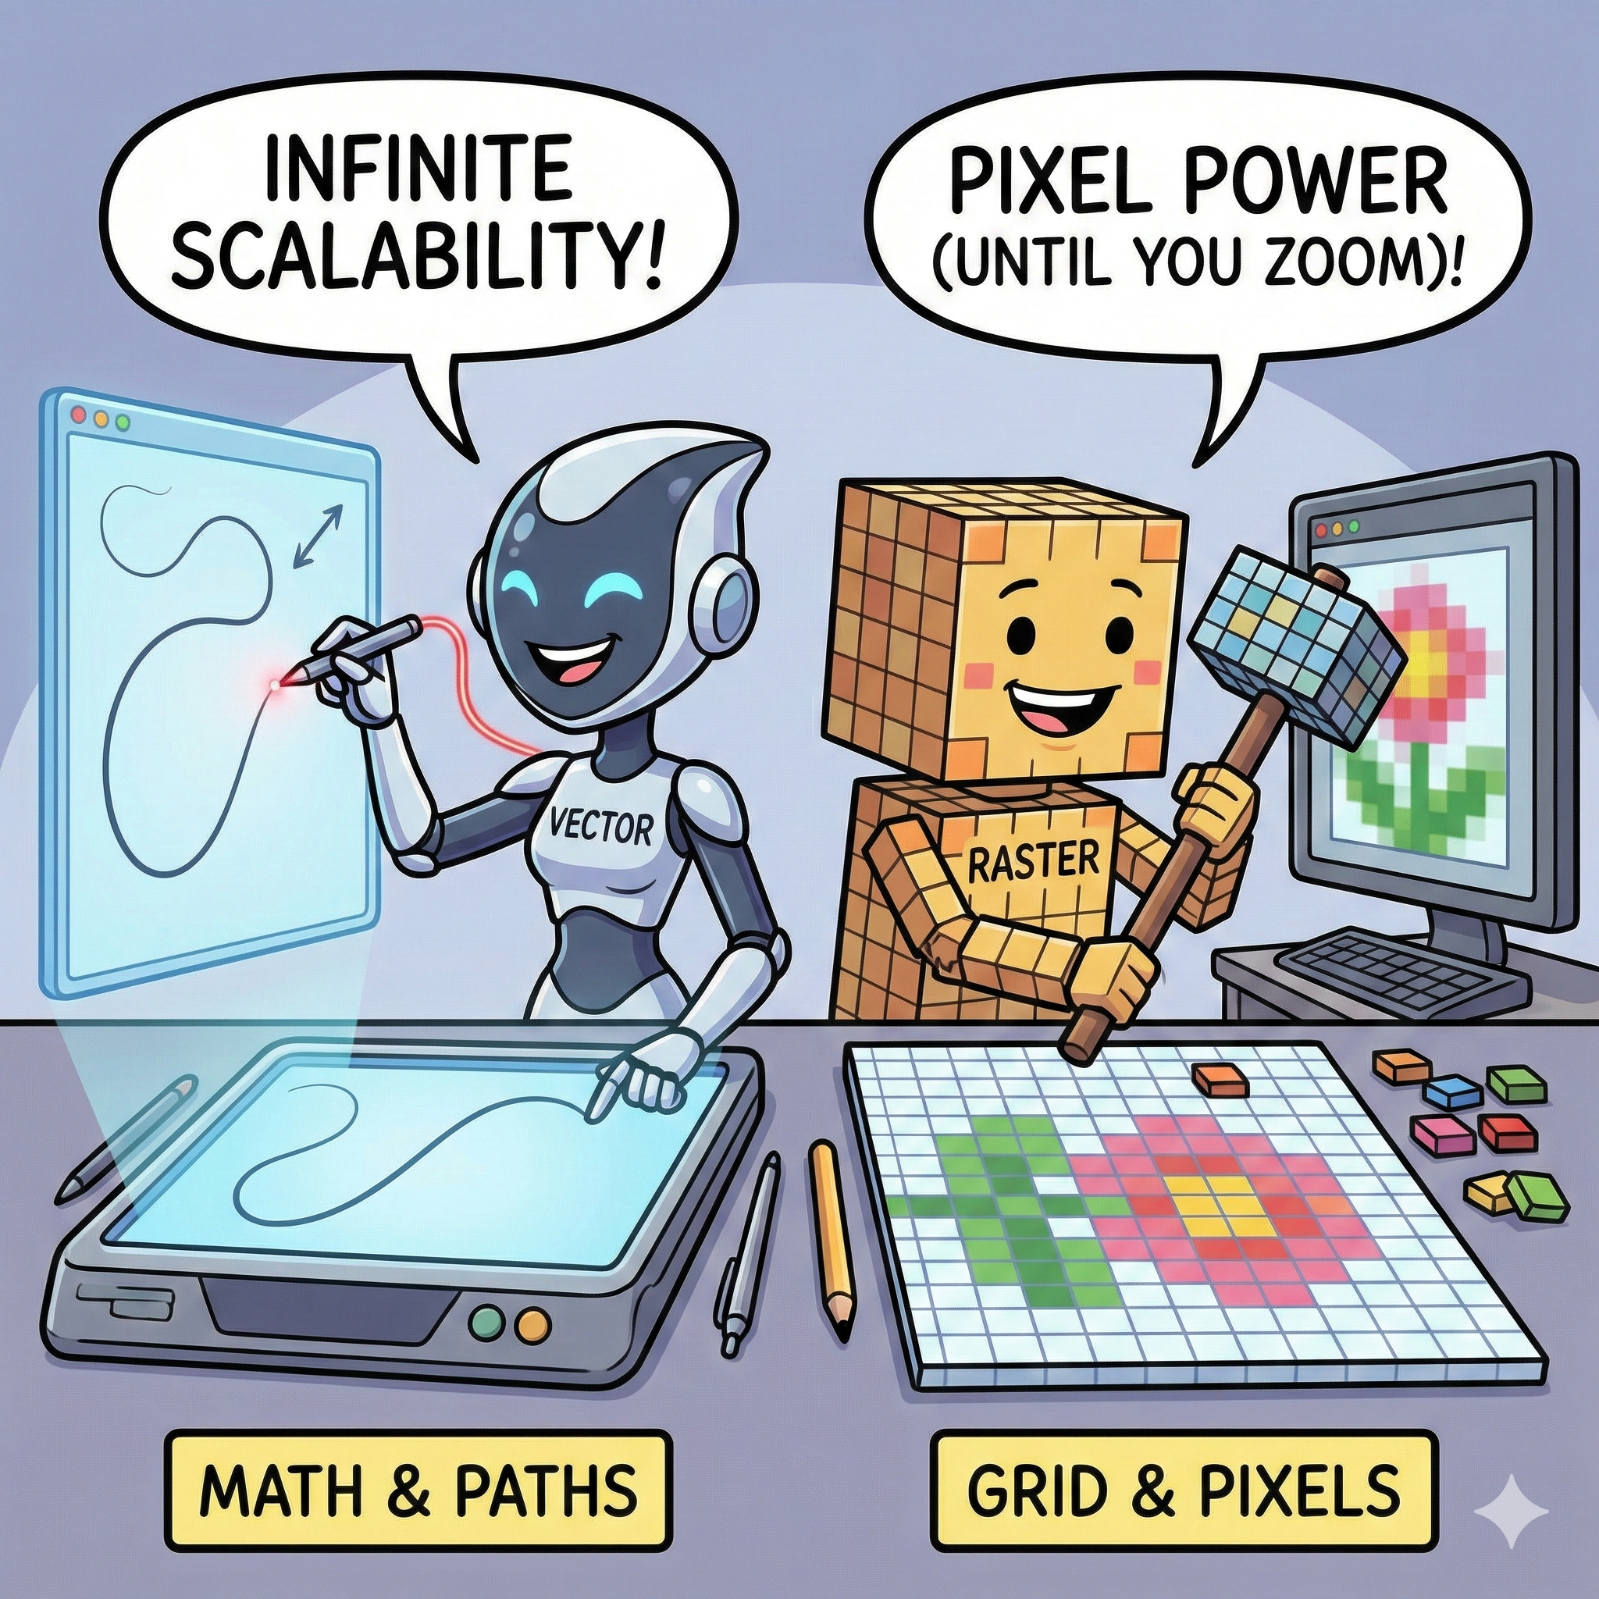
The Fuzzy Logo Mystery: Vector vs. Raster Explained
We have all seen it: a large banner or sign where the company logo looks like it was built out of blurry LEGO blocks instead of crisp lines. It’s a common frustration, but it’s rarely a printer error. It is almost always a file error.
Read article →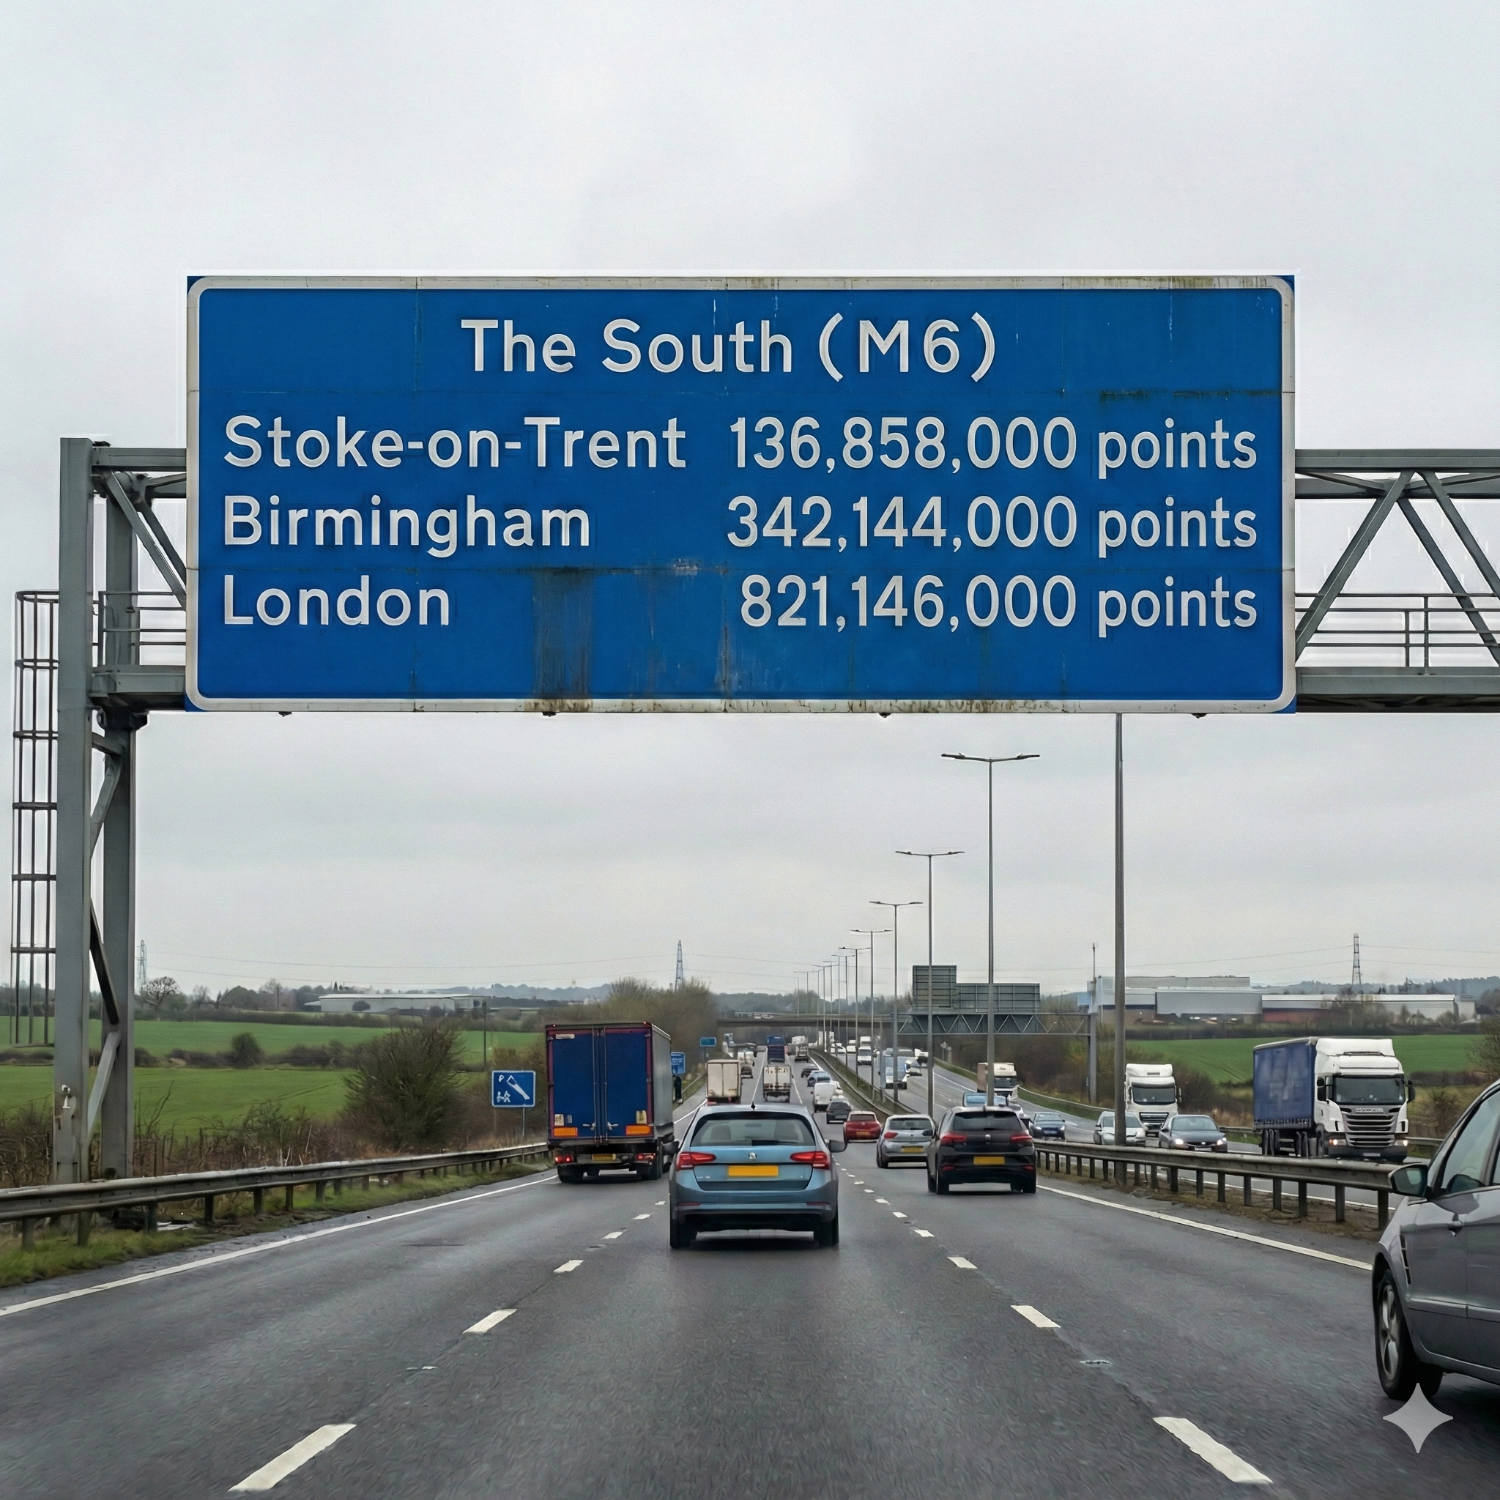
The Invisible Ruler: Decoding the "Point" in Typography
Every day, millions of people open a word processor, click a dropdown menu, and select a number: 10, 11, maybe 12. We know that 12 makes the letters bigger than 10, but rarely do we stop to ask: 12 what?
Read article →